
October 8, 2026 · 8 min read
Turn Paper Menu Photos Into an Editable QR Menu
Import paper menu photos into iMango, check dishes, prices, sizes and translations, then activate an editable QR menu. Includes a sample and review checklist.
iMango Team
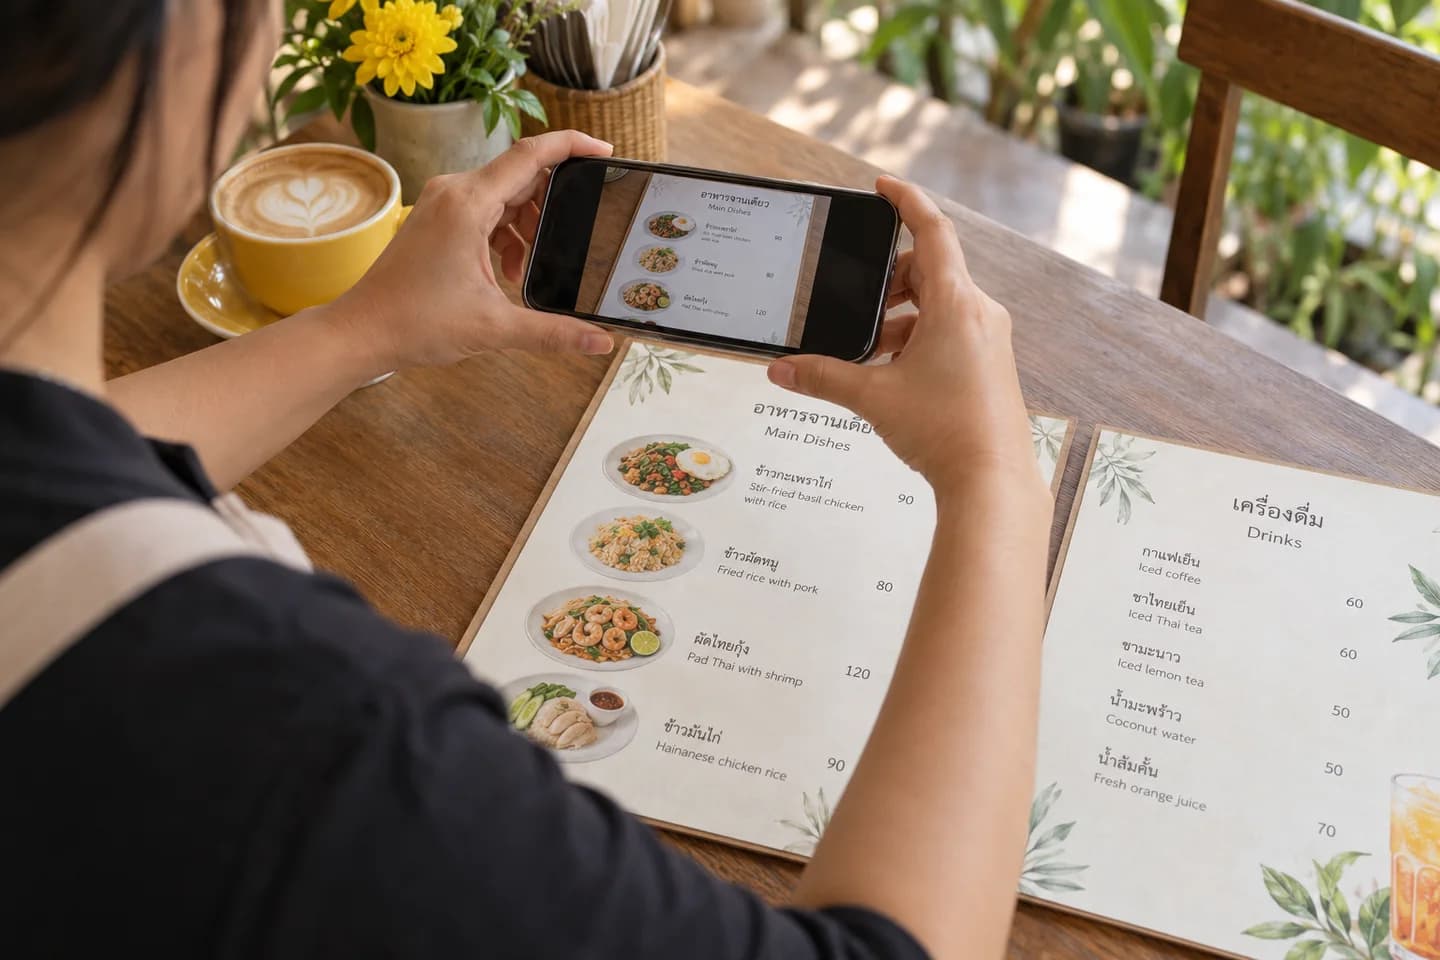
To turn a paper menu into an editable QR menu, photograph the current pages, import the images, check the draft against the original, and make the reviewed menu available to guests. In iMango, photo import creates a new inactive menu. AI prepares categories, items, prices and translations; the owner reviews them before choosing Publish to menu. Uploading a photo does not automatically publish it.
This guide covers that photo-to-menu workflow. For the wider setup, including your public link and QR placement, use the restaurant QR menu setup guide.
What photo import gives you
An imported menu is editable data: categories, dish names, descriptions, prices and supported options. Guests can browse the resulting menu on their phones instead of zooming into the photographed page. Later, you can change menu details behind the same QR link.
Photo import starts a new menu. It does not merge items into an existing menu, verify recipes, or turn photographs of printed dishes into individual food-photo assets. Plan to add your own dish photos separately.
Supported files and upload limits
The current iMango photo importer accepts JPEG, PNG, WebP and AVIF images. It does not accept PDF files directly. If you have a PDF, export its pages as supported images, or photograph a printed copy.
| Limit | Per import |
|---|---|
| Number of images | Up to 5 |
| Size of each image | Up to 20 MB |
| Combined size | Up to 40 MB |
| Resolution of each image | Up to 50 megapixels |
Your plan's menu and item limits also apply. Before publishing, the review page compares the draft item count with the restaurant's remaining item slots. Remove unwanted draft items or change your plan if there is insufficient room.
1. Photograph the menu you actually serve
Use the latest menu and confirm its prices with the person responsible for them. Importing an old printout accurately still creates an outdated menu.
- Lay each page flat and include its category heading, item names, prices and footnotes.
- Keep the camera parallel to the page. Avoid curved text near a binding.
- Use even light. Move away from reflections on laminated pages.
- Open the saved photo and zoom into the smallest price or size label. Retake it if you cannot read it.
- Upload distinct pages in order. Avoid overlapping shots that repeat the same dishes.
- If the menu exceeds five pages, choose a coherent section for a separate menu or build the remaining items manually. Separate imports do not merge automatically.
Blur, glare, tiny text and cropped text are recognized document-image defects in Google's document OCR documentation. Checking those details is a useful preparation habit; it does not guarantee a perfect iMango extraction.
A sample menu to practise with
The example below is a demonstration menu created for this guide, not a customer menu or a measured AI result. It has two categories and six items. The latte has two base prices, plus an optional extra espresso shot.
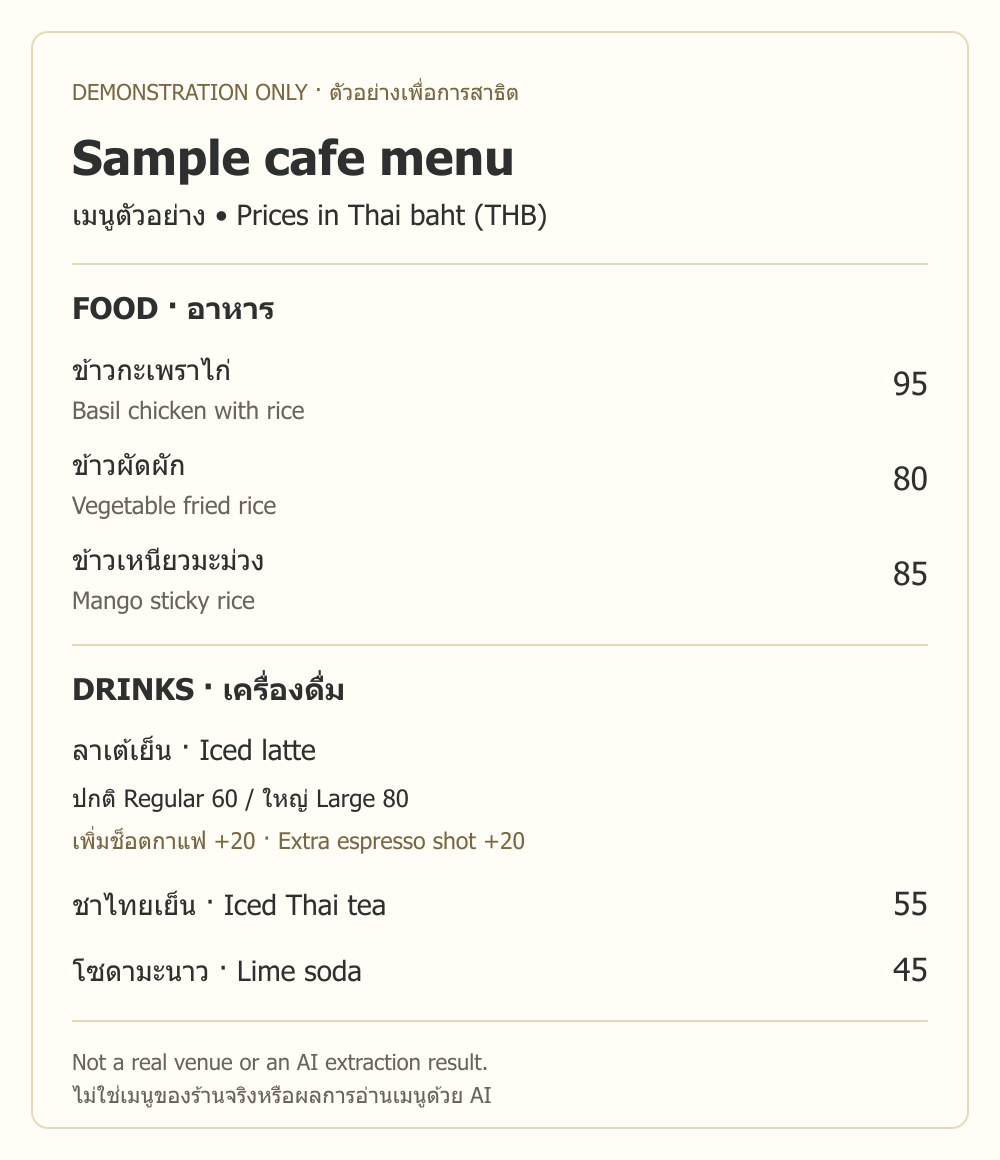
Open or download the sample menu image. When photographing your own menu, use the same check: are both size labels and the extra-charge note readable?
2. Start the import and check its languages
Sign in to iMango, open your restaurant's menus list, and choose Import menu from photos. iMango creates an inactive menu and opens its import page.
Before uploading, check the restaurant languages displayed in the upload card. These are the languages AI will prepare in the draft. Use the settings link to change them before processing begins. Changing languages later does not automatically add translations to a completed draft.
Select your images and start the import. Keep the page open until uploading finishes and the import is queued. After that, you can return to the menus list and reopen the import when it is ready for review.
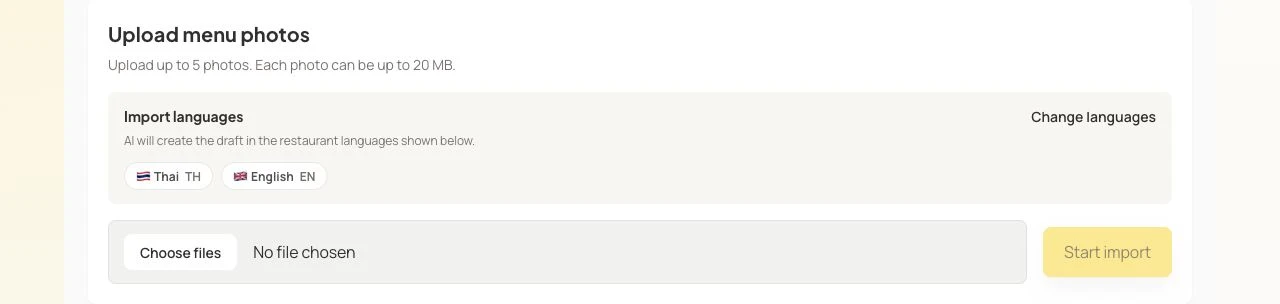
Product screenshot: the actual iMango upload component rendered locally with demonstration settings. No live import was submitted.
The progress screen distinguishes uploaded photos, AI reading the menu, and review. It does not provide an exact completion time. If you start the flow again while an import is unfinished or awaiting review, iMango resumes that import.
3. Compare the draft with the source, item by item
Keep the original menu beside the review screen. Begin with the summary: do the category and item counts make sense? For the demonstration menu, you would expect two categories, six items and one add-on group.

Product screenshot: actual iMango review components populated with manually prepared sample data. It illustrates the review screen, not the output of a live AI extraction.
Warnings help you find uncertain fields, but an item without a warning still needs checking. Expand Review item to inspect and edit its details. Missing or ambiguous prices must be resolved before publishing.
Extraction-review checklist
| Check | Compare with the original and correct |
|---|---|
| Coverage | Each current dish should appear once. Remove duplicates and old specials; add omissions in the normal workspace after publishing. |
| Categories | Put each item under the correct category and food/drinks section. |
| Prices | Check digits, decimal points and currency presentation. Confirm unclear prices with the owner; never guess or use zero as a placeholder. |
| Sizes | Give each size its complete selling price. Keep base-price choices separate from additive extras. |
| Add-ons | Attach extras to the intended items. Check labels, price increments and selection requirements. |
| Translations | Preserve dish and option meanings in each guest language, especially ingredients and portion sizes. |
| Food information | Confirm claims against recipes and kitchen practice. Remove unsupported allergen or dietary tags. |
The source photo is a reference, not proof that its information is current. Confirm changed recipes and prices with the team as you review.
4. Separate base prices from extra charges
In the sample, a regular iced latte costs ฿60 and a large iced latte costs ฿80. Those are two complete base prices for one item. An extra espresso shot costs +฿20; that is an optional add-on attached to the latte.
| Printed information | Correct structure | Price check |
|---|---|---|
| Regular ฿60 / Large ฿80 | Two base-price options | Large without an extra shot = ฿80 |
| Extra espresso shot +฿20 | An optional add-on | Large with the extra shot = ฿100 |
Do not enter “Large ฿80” as an additional ฿80 charge on top of the regular price. Review which items the extra shot is attached to; it should not appear on the food dishes or lime soda.
5. Review translations and food information
Read the name, description, size and add-on labels in every guest language you intend to use. A translated heading alone is not enough if a visitor cannot understand the choices underneath it. Use the menu translation guide for the wider review workflow.
In draft editing, Translate is a deliberate action. It fills empty enabled-language fields and preserves existing non-empty text. If a translation already contains an error, edit that field; pressing Translate does not automatically replace it.
Do not infer “vegan” from the words “vegetable fried rice,” or “allergen-free” from a photograph. The printed menu may omit sauces, cooking fats or shared preparation equipment. Ask the kitchen to confirm the information you publish. AI-generated safety and dietary tags require owner review.
6. Publish the reviewed draft and check the guest menu
Choose Publish to menu after checking the draft. This transfers the reviewed categories, items and options into the new menu's normal workspace. The menu starts inactive: check and activate it in the menus list when it is ready for guests.
Open the restaurant's public menu on a phone, then scan the QR code you intend to use. Check that:
- the intended menu and categories are visible;
- names and prices match the approved source;
- regular and large prices are clear, and extras show the correct charge;
- every intended guest language displays usable names and option labels;
- food information matches what the kitchen confirmed;
- descriptions and any separately added dish photos are readable on a small screen.
Keep the original files while reviewing. iMango's raw uploaded import images are scheduled for removal after 48 hours; they are not a permanent archive of your paper menu.
Ready to start? Sign in to import your menu photos, or see how iMango's editable digital menu works.
Frequently asked questions
Can I create a QR menu from a photo of my paper menu?
Yes. iMango can prepare an editable draft from supported menu images. You review names, prices, options, translations and food information before publishing and activating the new menu.
Can I import a PDF menu directly?
No. The photo importer accepts JPEG, PNG, WebP and AVIF. Export PDF pages as supported images or photograph the printed pages, then stay within the upload limits.
Will an import replace my existing menu?
No. Photo import creates a new inactive menu. It does not merge into or replace an existing menu. After reviewing and publishing, choose which menu should be active for guests.
How long does a photo import take?
There is no fixed completion time promised in this guide. Upload size, image complexity and processing availability can affect the wait. Check the import status, and allow time for owner review before putting the menu into service.
Do I need to reprint the QR code after fixing an imported price?
You can edit a published menu behind its stable restaurant URL. A QR code pointing to that unchanged URL can continue to work. Scan the actual code and verify the guest menu after your edit.